Tuesday, January 29, 2013

Sd.Kfz.261 - Construction I.

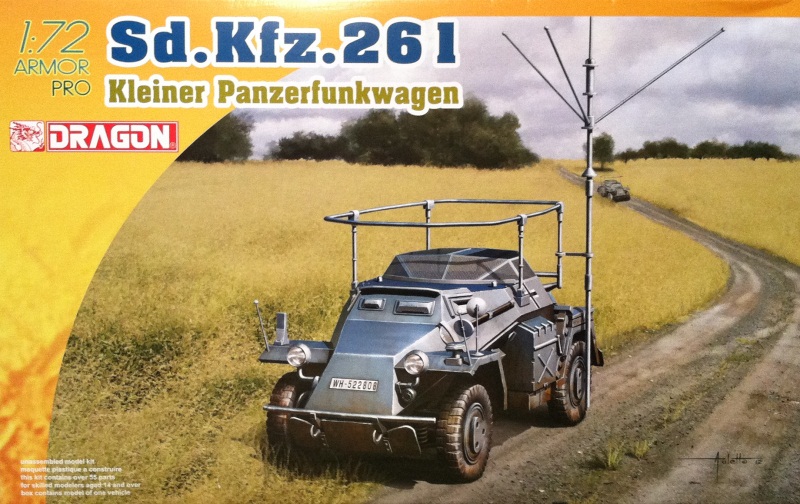
In yesterday's post, I neglected to point out the marking options for this kit. Two are illustrated in the instructions: one from an unidentified unit and one from the 2nd Panzer Division, both 1941, and both in panzer grey. The 2nd Pz. Div. vehicle has the "do it yourself" registration numbers where a blank white decal is included along with individual black numbers so you can theoretically assign any number. In this scale, no thanks!

On to construction. Steps 1 and 2 cover the suspension and under-carriage and the attachment of various components to the lower hull. Step 3 covers the mesh "turret", the attachment of items to the upper hull, and the joining of the upper and lower halves. Four indentations need to be filled with putty as this upper hull molding was used for one of the prior versions of this armored car kit.

At this point, I have not attached the mufflers or rear tow hooks and the wheels/tires have been left off for ease of painting. A shot of the underside:


And a shot of the left side. Note the filled indentations used for a previous kit and the heaviness of the mesh in the turret. The equipment has not been added to the rear fenders and the front fenders are added in a later step.

Monday, January 28, 2013

A Small Diversion


Before diving back into my larger projects, I thought that I'd tackle Dragon's recent 72nd scale kit, the Sd.Kfz.261 Kleiner Panzerfunkwagen.

Following the 221, 222, and 223, the 260 and 261 were the fourth and fifth types of armored cars built on the "standard chassis for heavy passenger cars." They had four-wheel drive and armor designed to protect against AP bullets. The screens on top were intended to keep out hand grenades.

The 260 and 261 had no mounted armament. Instead, they were outfitted with long-range radio sets. The 260's radio sets operated in the same frequency band as those used in aircraft. The 261's were high-powered radio sets used for long-range communication with other headquarters.

A total of 483 Sd.Kfz.260s and 261s were completed between April 1941 and April 1943.

The kit itself is molded in Dragon's usual grey styrene. This kit only includes one vehicle whereas Dragon's previous offerings in this series included two. Given that, I expected something special in the kit . . . perhaps some nice PE or added details. Not only is there no PE, but the screens are rather heavily molded in plastic. I guess Dragon figured that since nothing could be seen through the screens that it wasn't necessary to include them in PE. Oh, well. From what I can tell, the kit does include new front fenders and has what appears to be a rather nice mast antenna. All in all, the molding appears to be finely done with little to no flash.

To give you some idea as to the size of this vehicle, here's a photo of both the lower and upper hull with a U.S. quarter:


On to construction!

Thursday, January 10, 2013

Renault UE: Construction


The holidays are over, so I guess it's time to play catch-up with posting the progress on some of my projects.

First up is the Renault UE that I built while at the beach in September. It's a 2007 Tamiya kit produced in 1/35th scale. Injection-molded in dark green styrene, it provides the option for building one of three variants: Series 2, 3, or 4. All are marked as "Unit Unknown, France, 1940." Parts are included for the UE itself as well as the towed, tracked trailer. Tracks are link and length and it truly is a "diorama in a box" as it includes four figures (two interior crew and two standing) as well as a sprue containing barrels, boxes, tarps, and other equipment with which to fill the rear cargo bin and trailer.

The first three steps cover construction of the hull and are straightforward. As one would expect from Tamiya, fit is excellent, even for a five-year-old kit. Following are two pictures of the hull at this point:


Steps 4-7 cover construction of the wheels, suspension, drive sprockets and the attachment of the tracks. This was my first real experience with link and length tracks of this size (small!) and things went without a hitch. Tamiya  has captured the track sag on both the UE and the trailer very well. Here's a picture of the unassembled wheels and suspension:


 Steps 8-11 cover the addition of various hull parts and the hatches. It's important to pay attention to the instructions at this point as it is here that the choice of attachments will determine which of the three versions you end up with. I left the hatches unglued at this point so that I could paint and insert the crew figures at a later time. The only thing extra I needed to do here was drill out the exhaust pipe.

Step 12-13 detail the construction and attachment of the cargo deck. Two pictures showing the completed UE:


Last up was the construction of the trailer, covered in Steps 15-17. Link and length tracks are again used and again went together with a minimum of fuss:


And here's a photo of the complete build at this point:


All that's left is to choose the cargo, paint and weather the UE and trailer, build and paint the figures, and decide on a setting and base for the display.